1 Choose a photo with separation
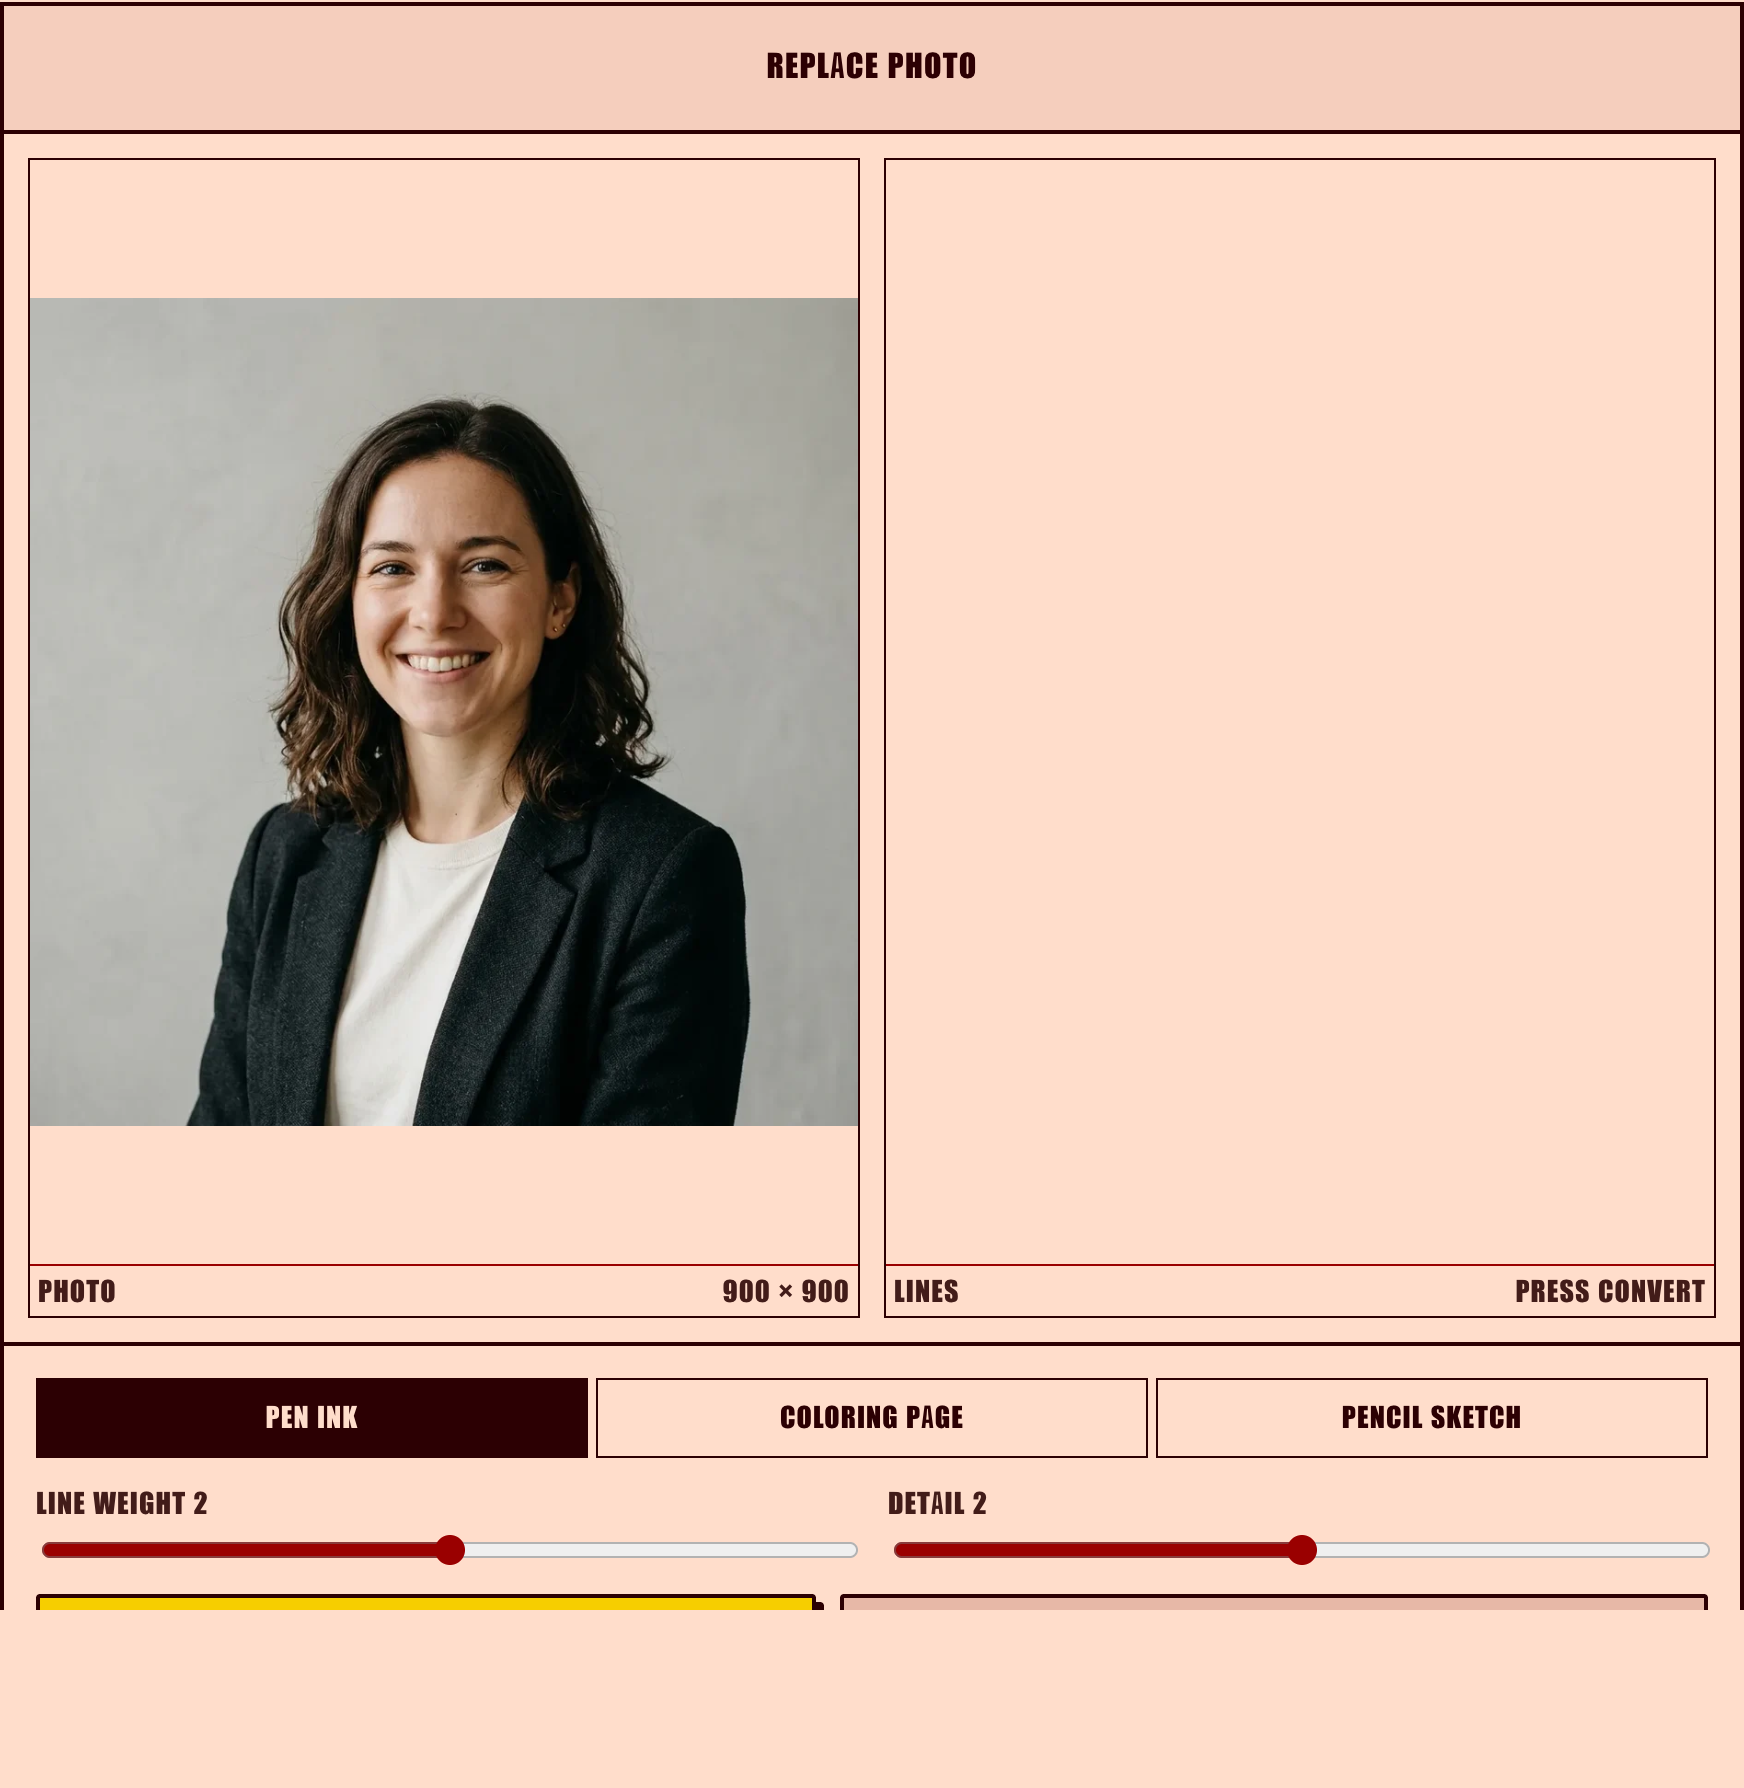
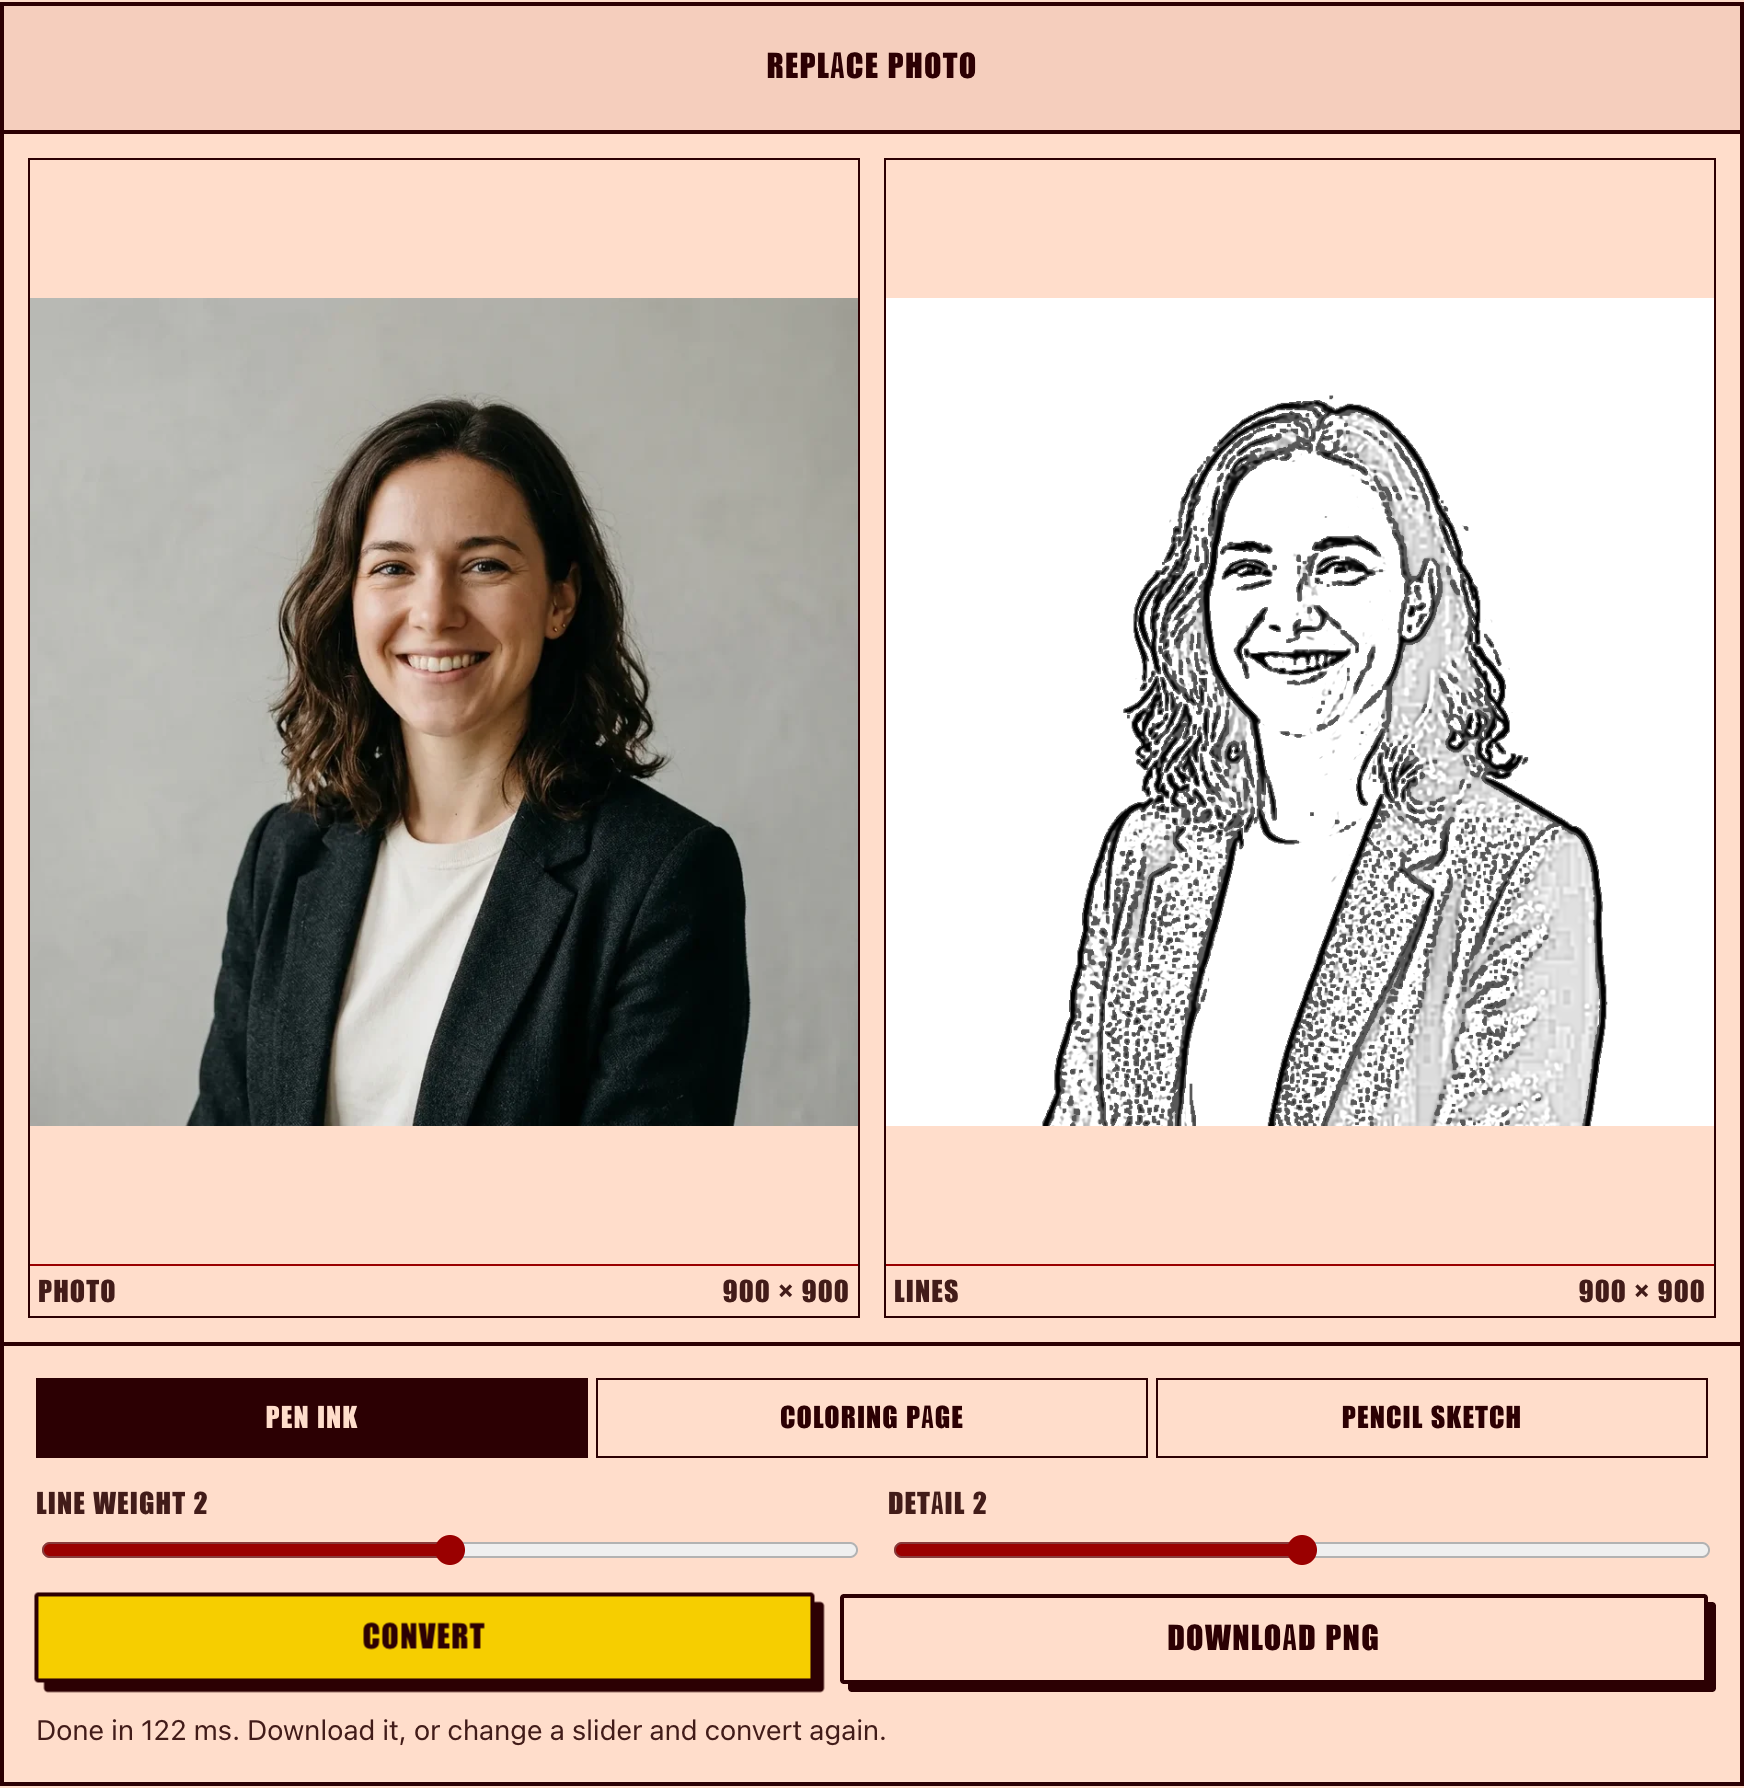
The engine draws edges from contrast, so the subject needs to read clearly against its background. A portrait on a plain wall is the easiest starting point; a white object on a pale surface is the hardest and may come back nearly blank.
2 Open the converter and drop the file
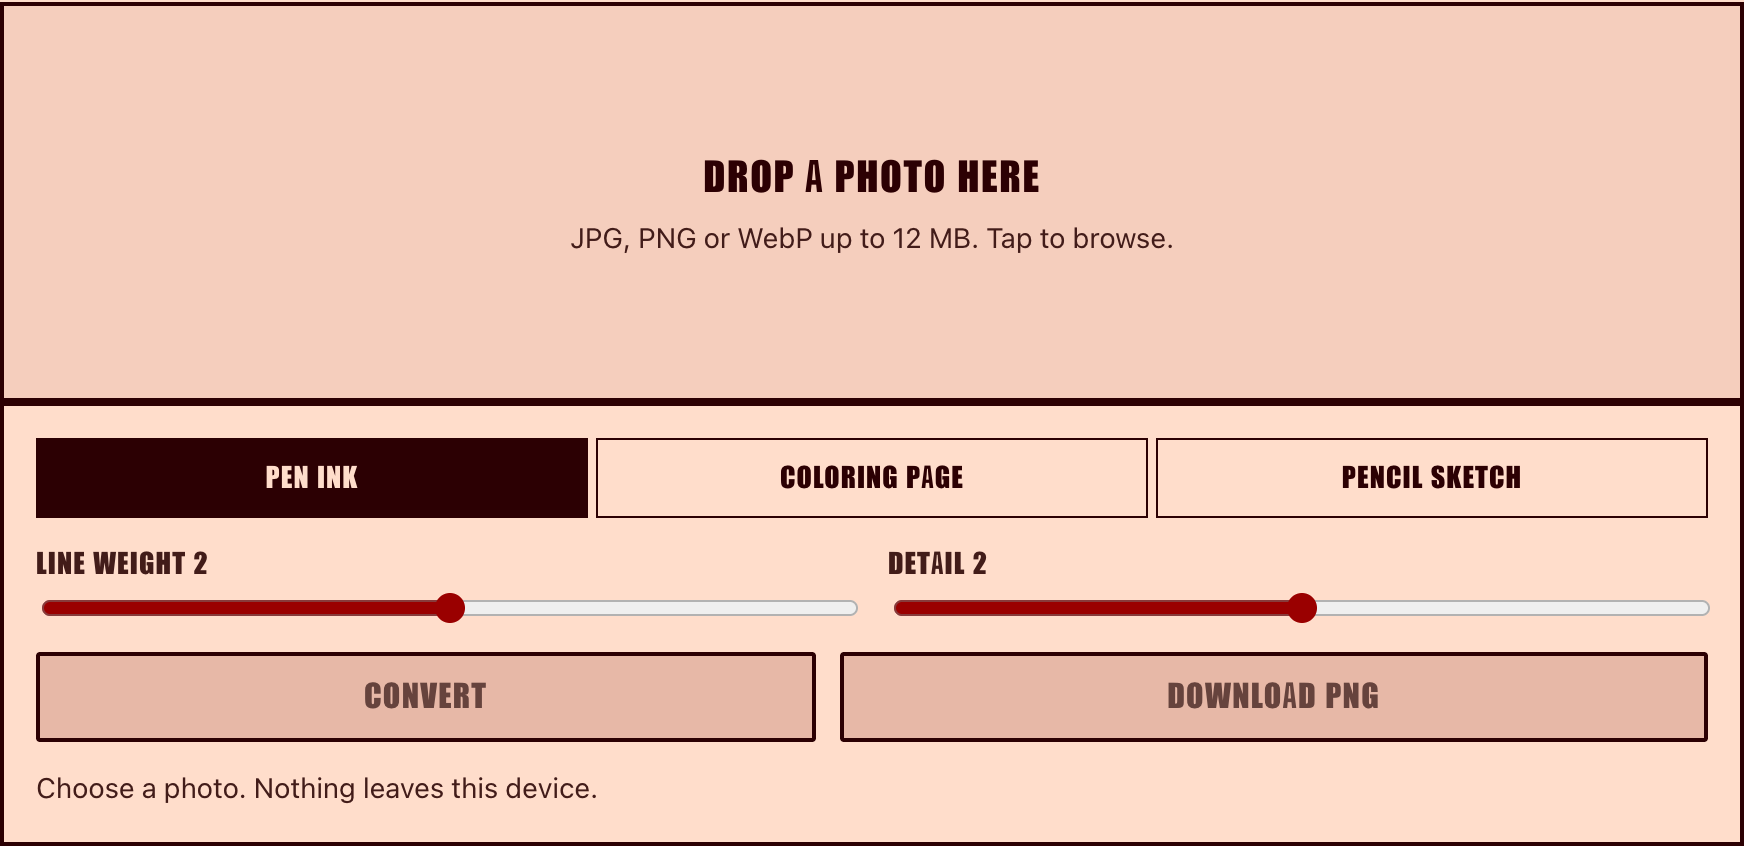
Use the panel on the home page. The file stays on your device; there is no upload step, so there is nothing to wait on and nothing stored.
3 Match the style to the job
Pick pen ink for stencils and tracing, coloring page for printables with closed shapes, or pencil sketch when you want tone and shading rather than flat outlines.
4 Set Detail and line weight
Detail decides how faint an edge can be before it is dropped. Start at 2, lower it for noisy or busy photos, raise it only for clean, well-lit ones. Line weight thickens the strokes for printing and photocopying.
5 Convert, inspect, then download
The first result appears in well under a second for a normal photo. Zoom to the eyes or the outline you care about, change one slider at a time, and download the PNG only when the lines hold together.